Pages

Saturday 30 June 2012

Bargain Hunt - June 2012


Some clobber I got yesterday. Picked up some Benefit, Coralista Blusher for €1 in a local charity shop!
Some vintage finds here too. The white jeans and blue shorts are about a size 000 so they may just be wardrobe accessories! They were too pretty to leave behind (and vintage!)


Also this velvet dress that has no tags on it so I'm presuming vintage!


Ais

Wednesday 27 June 2012

Feather extensions.

PLL (Pretty Little Liars) has gotten us all obsessing over the identity of -A. and the styles of all 4 girls in the series.
My favorite is Aria. I love her bohemian/punk style, especially her feather hair extentions.


So heres a little DIY for you to make your very own Feather extentions at home!
These are a little less feathery than Aria's but just add more feathers if you're a mad bastard.

Here's what you will need: A feather, beads to match, embroidery thread (normal thread isn't strong enough), a hair grip/ bobby pin and a big ass needle.


1) Thread through the steam of the feather (The hard bit in the middle).


2) Then thread on the beads.


3) Loop the thread around the hair grip and thread the needle back through the beads and sew a stitch again into the feather stem. this makes a loop coming out of your beads.


4) Tie a knot to hold the grip in place and another to hold the beads in place. You're done!
Heres the finished product and another style of extention I made for the hell of it.


So go out and try not to; get knocked over by a car/blackmailed by a psychopath/fall in love with your teacher in your Aria style feather extentions.

Catch PLL on ABC every Monday at 8pm :)

Perfect Bows


These little bows can be used for so man things and are so easy to make! I have a bag of them for just incase!

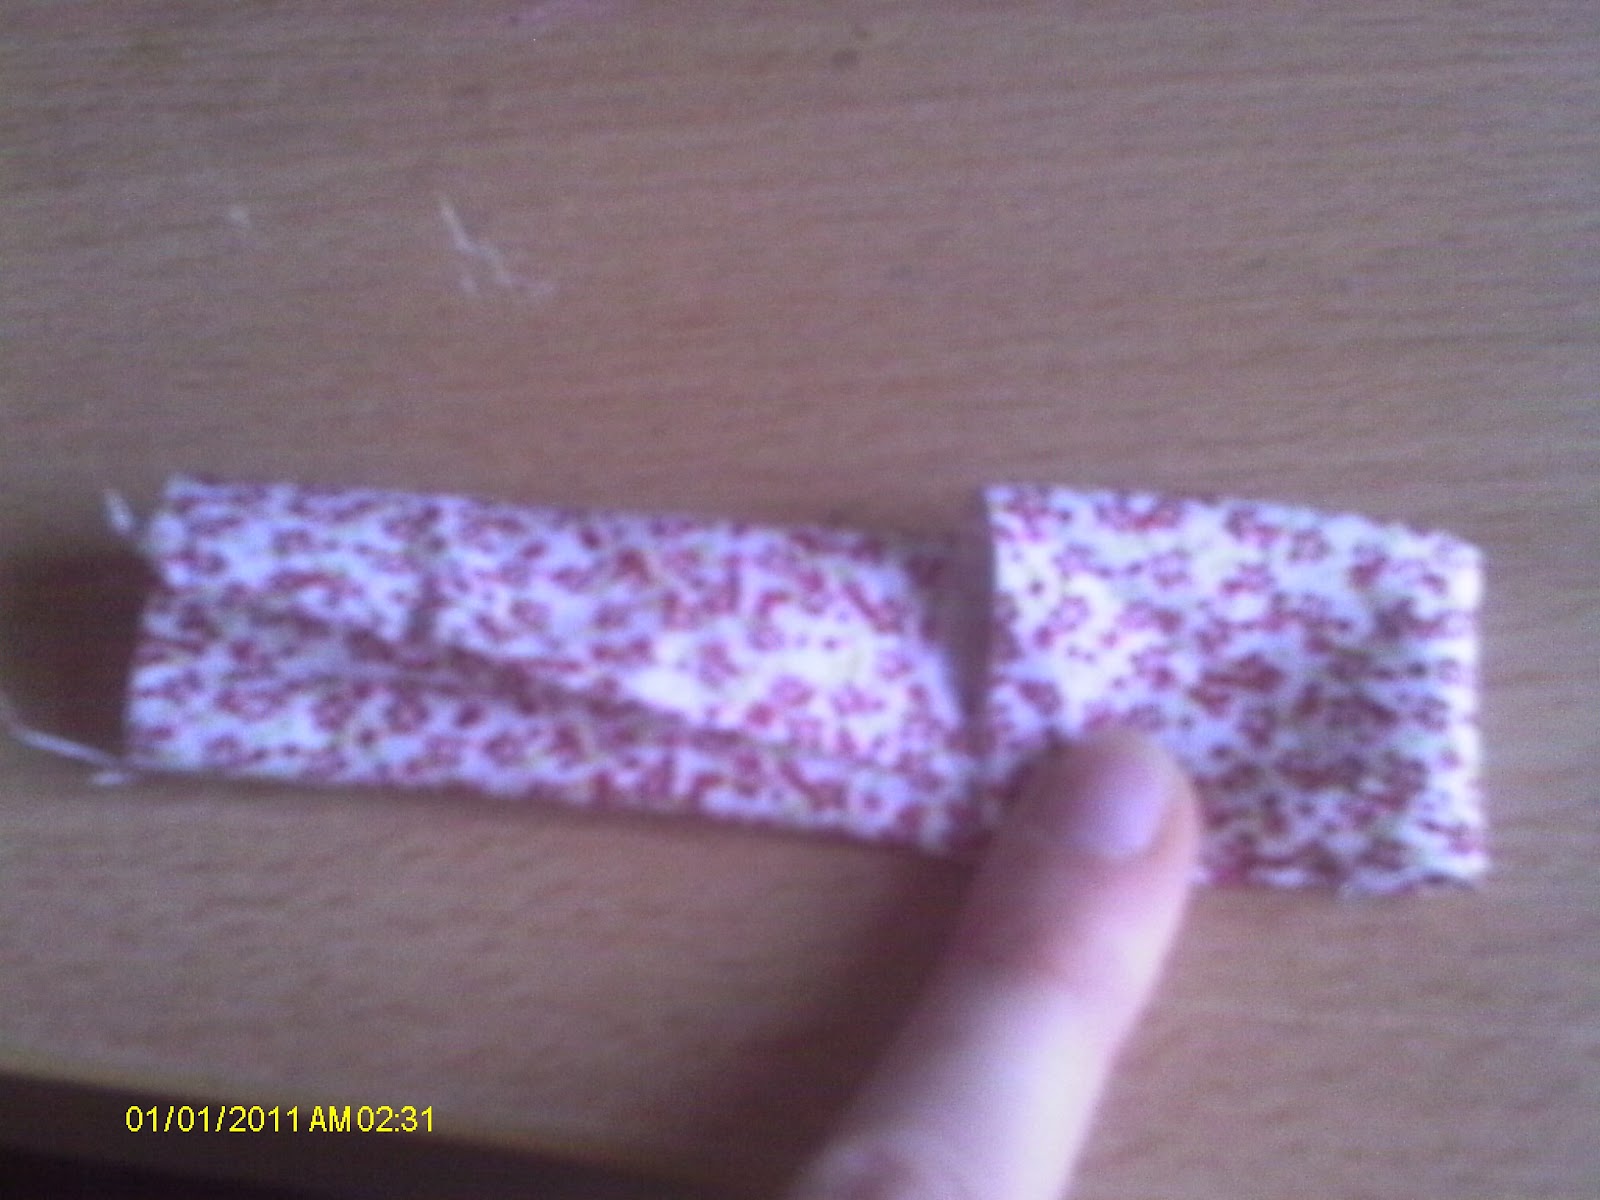
1) So first off, get a rectangular piece of fabric and cut off the end. I never measure my fabric. I just take scrap rectangles but if you want your bows to be uniform, measure your piece. (I suggest 12X24)


2) Fold the larger piece in on itself like this:

and repeat with the other side.

3) Fold in on itself again like this:

and repeat!


4) Stitch the bow together and bunch a bit in the middle like so:


5) Fold the smaller piece of fabric in like in step2 and wrap around the middle if the bow.


6) Stitch and cut off the excess!

There are so many practical uses for these pretty things!
Here I glued a hair clip to the back of a bow. These are lovely as gifts for little girls or childish adults like me :)

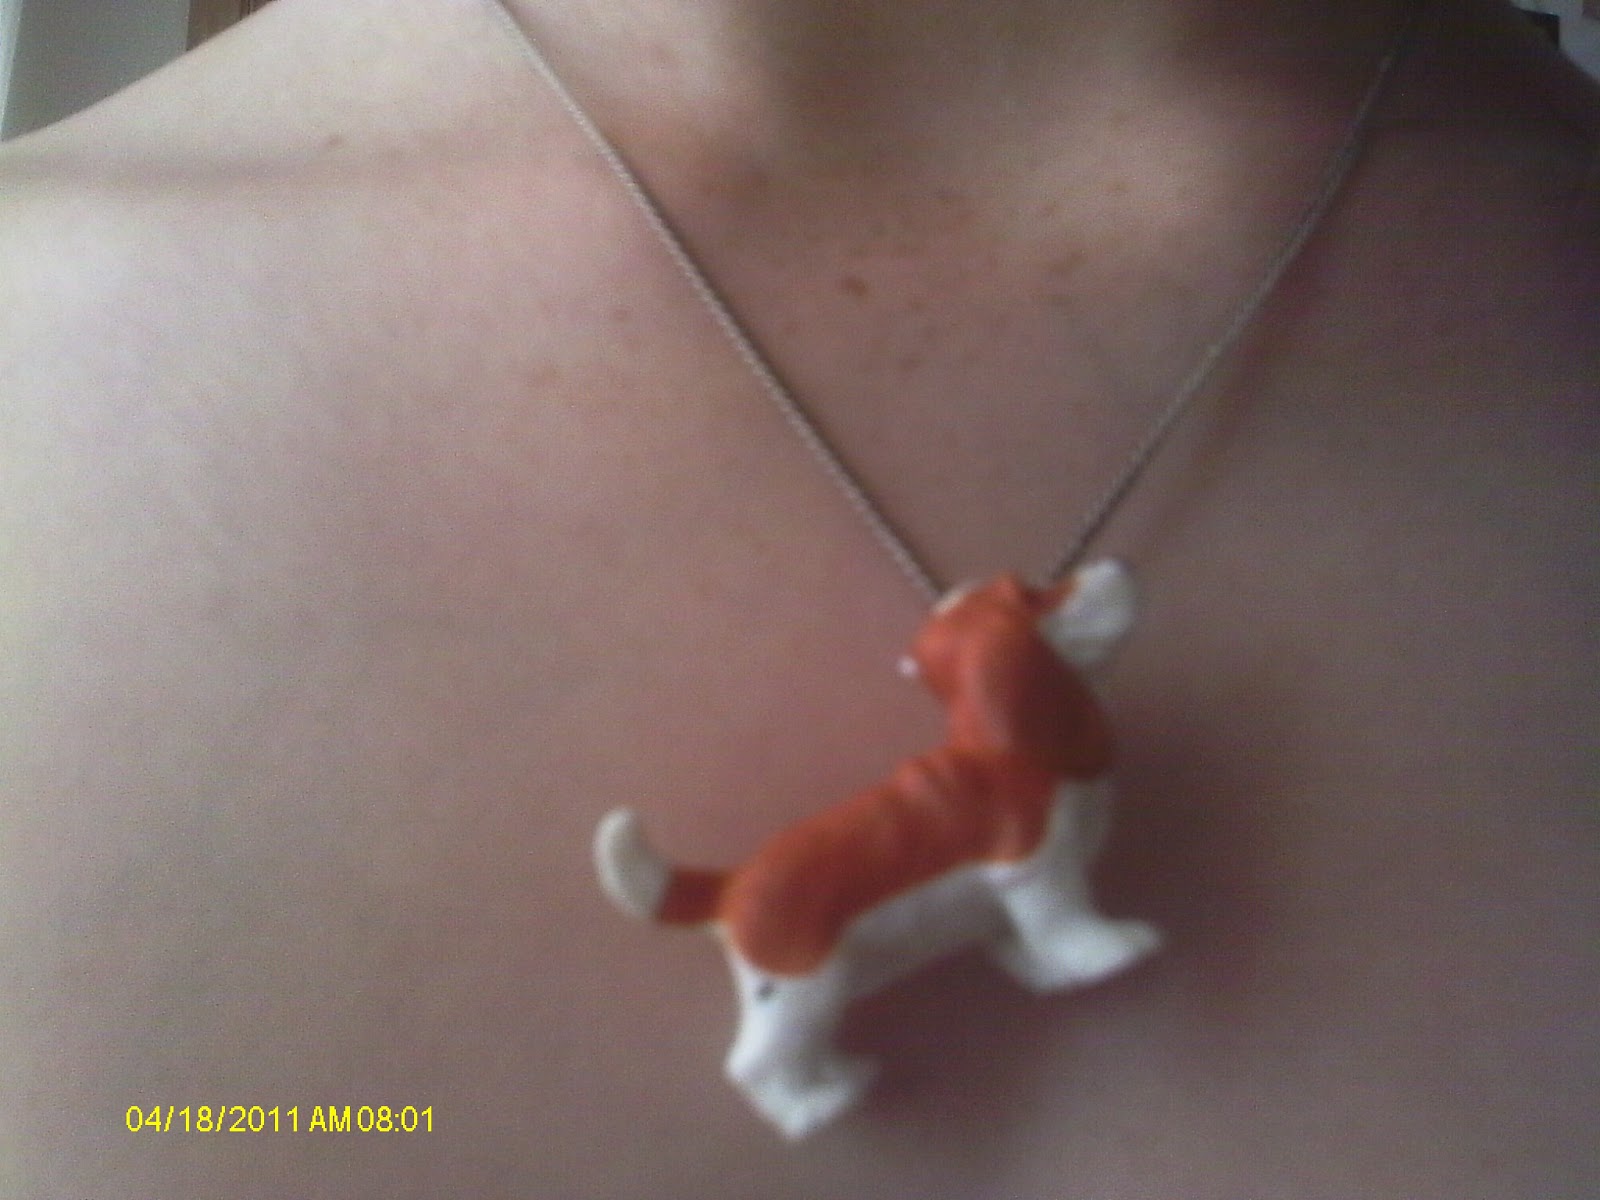
And here's a little bow ring!
Just glued onto an old bead ring I found from my childhood :/


P.S. I stopped biting my nails!
Hope you enjoyed this tutorial and can make out the one pixel pictures (someone please buy my a new camera!)
Ais.

Monday 18 June 2012

A Dog on a Chain

I love statement jewellery and quirky style, but have very little cash to feed my craving for accessories.
Here is a simple way to change those only figures we once got in cereal boxes and McDonald's happy meals into statement pieces to wear from childhood into adulthood.

You will need: A plastic figure (I chose this doggy), a thick sewing needle, a lighter, a pliers, a jump ring and a chain.

1) Heat the needle with the lighter for a few seconds until the needle starts to turn black (BE F*#KING CAREFUL)

2) Pierce the needle through a thin part of the plastic figure. I chose puppies ear.

3) Using the pliers, pierce the jump ring through the hole immediately as the hole will shrink once cooled.

4) Bend the ring around the chain to finish.


It's a cutie little doggy on a lead! Hope you enjoyed this tutorial!

Ais xxx

Shady Baby

It's summer!!!A staple of every summer wardrobe is sunglasses. This season I have fallen in love with the quirky specks seen on the catwalk but living in Ireland, high street brands tend to veer toward the more minimalist versions of those high fashion trends.
Therefore my only option is to create my own!

You will need: Sunglasses. These cost my €3 each.


You will also need: Gems, pearls  (or any other embellishment such as beads, feathers, etc.) and super glue.


Then you simply glue on your embellishments! Be careful using super glue, I am a mess and glued my fingers together.


And voila! Here you have your own unique shades to lounge about in this summer.


Sorry about the poor quality of these photos. This look was inspired by: VINTAGEVIRGIN's post


and this picture I cannot source unfortunatly:


Hope you enjoyed this DIY.

Ais xxx